1. Double-Eared
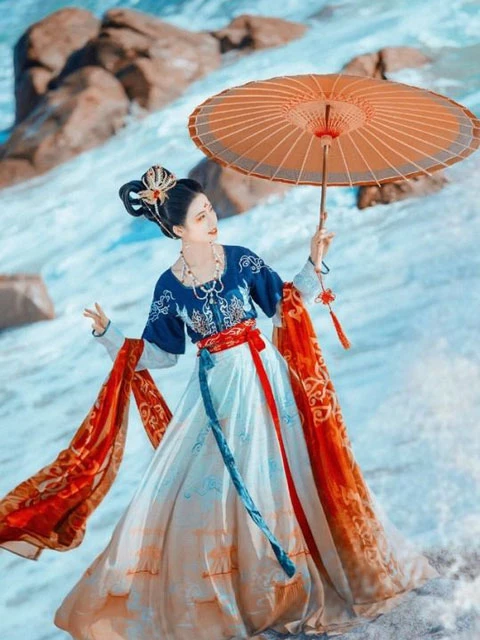
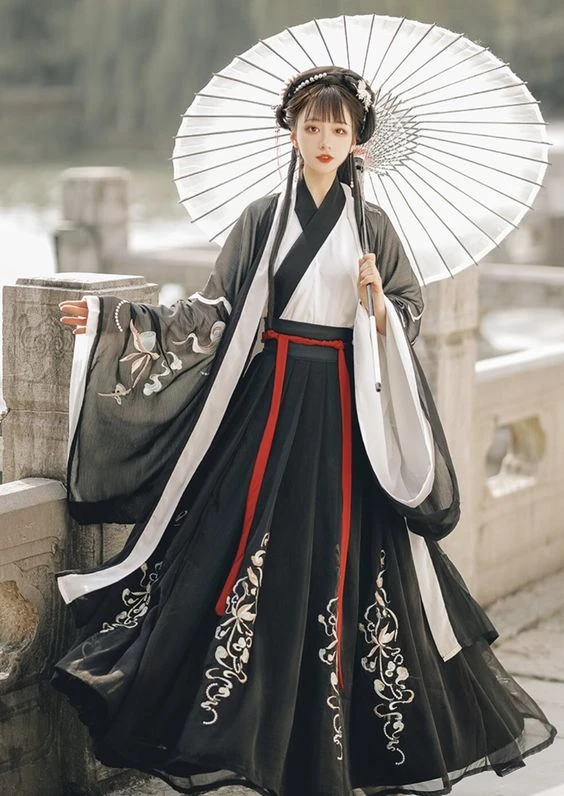
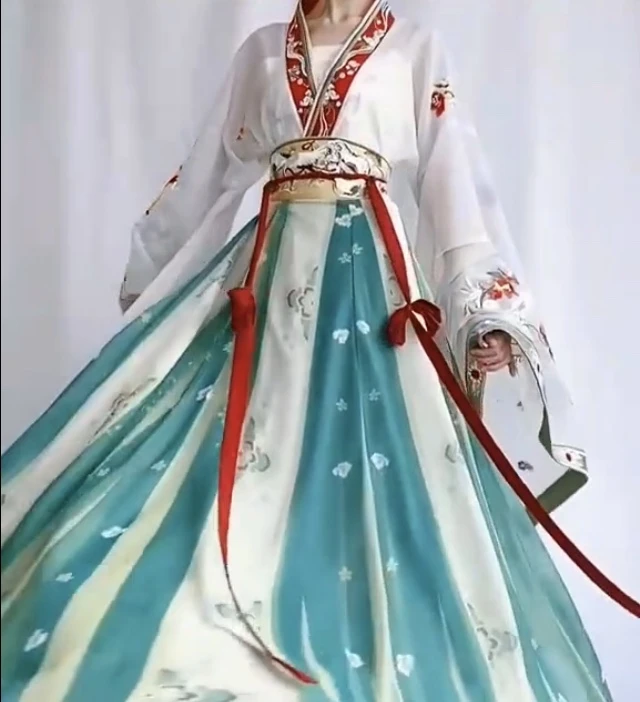
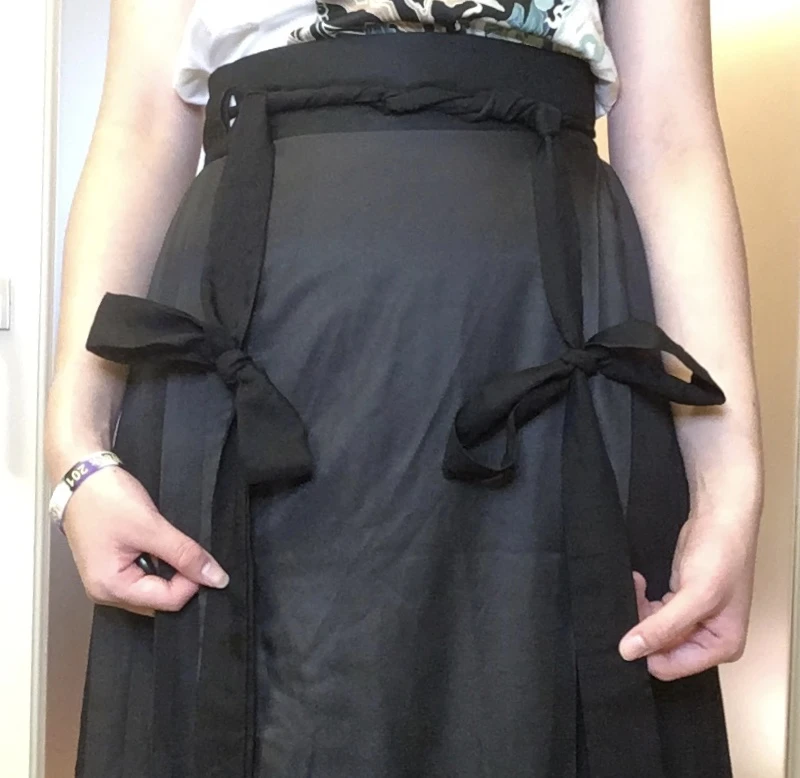
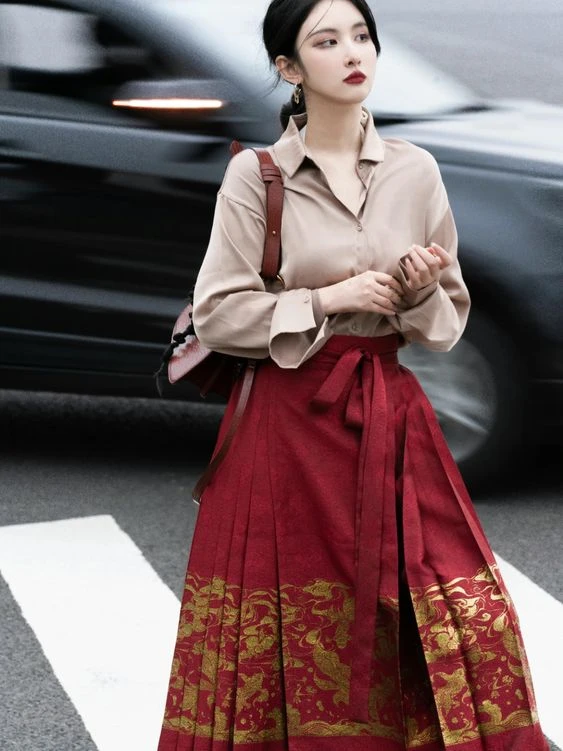
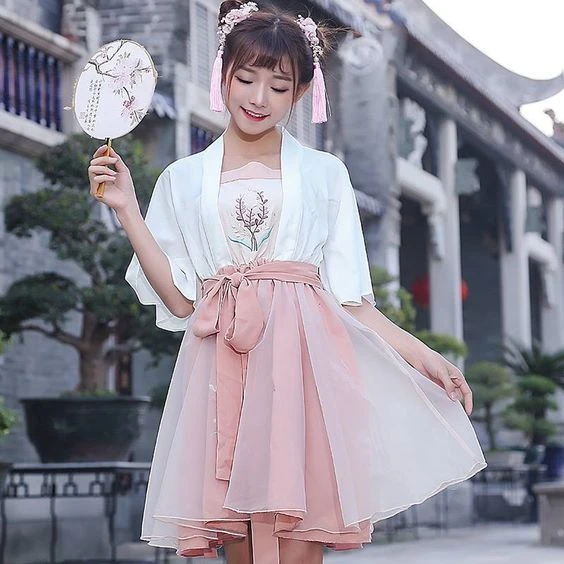
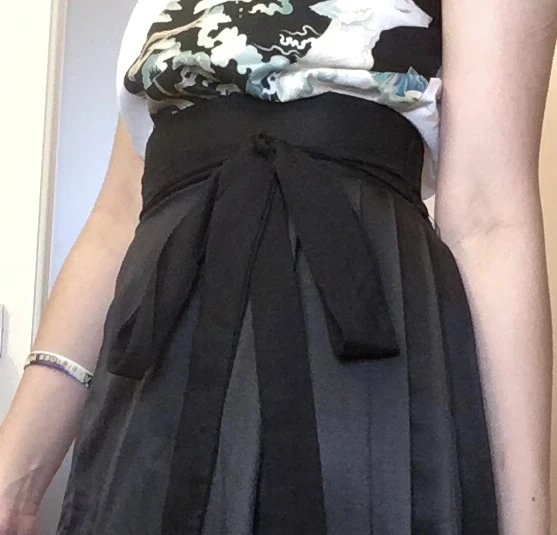
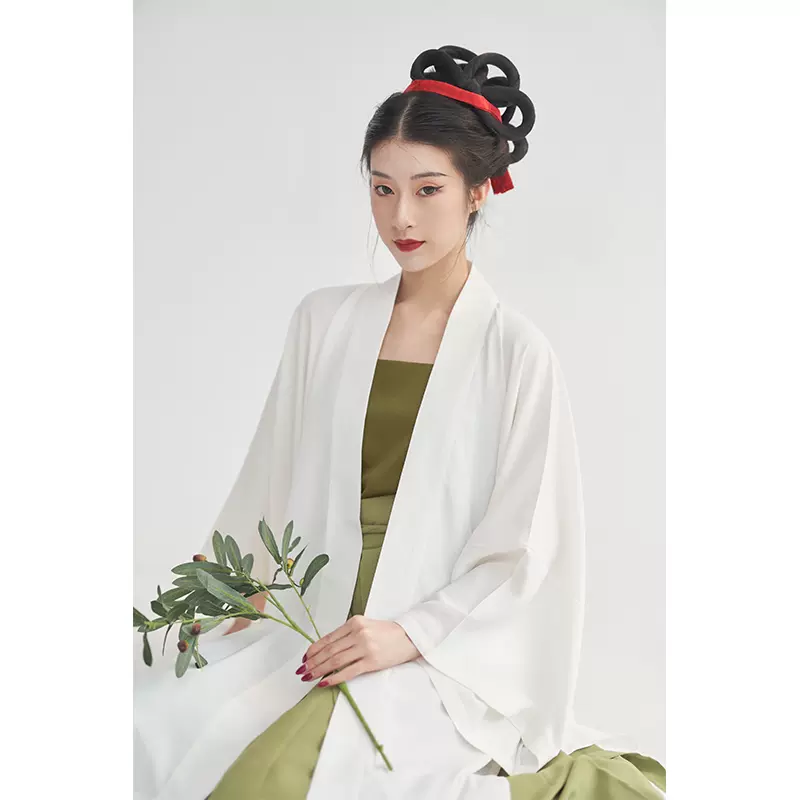
Let’s start with the most classic of ways to tie a skirt—the double-eared. This is the shape that most photos you’ll see have, suitable for pretty much all hanfu, although it has a more feminine flair and requires a long length of leftover ribbon to work with. Many people try to duplicate this pattern just by looking at it, but find that it’s easy for the loops to fall out of place when you move—no worries! Here’s the best way to tie your hanfu skirts in the double-eared pattern:
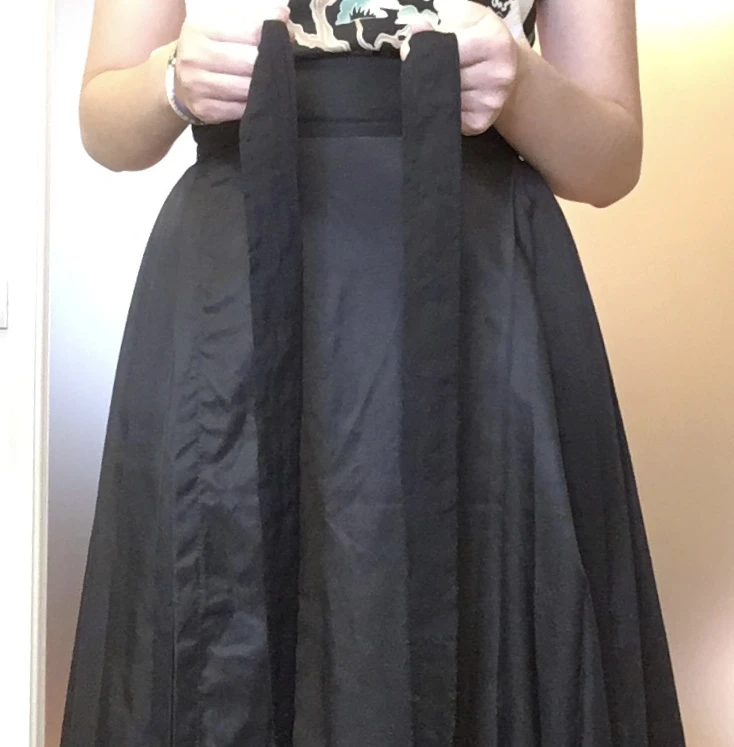
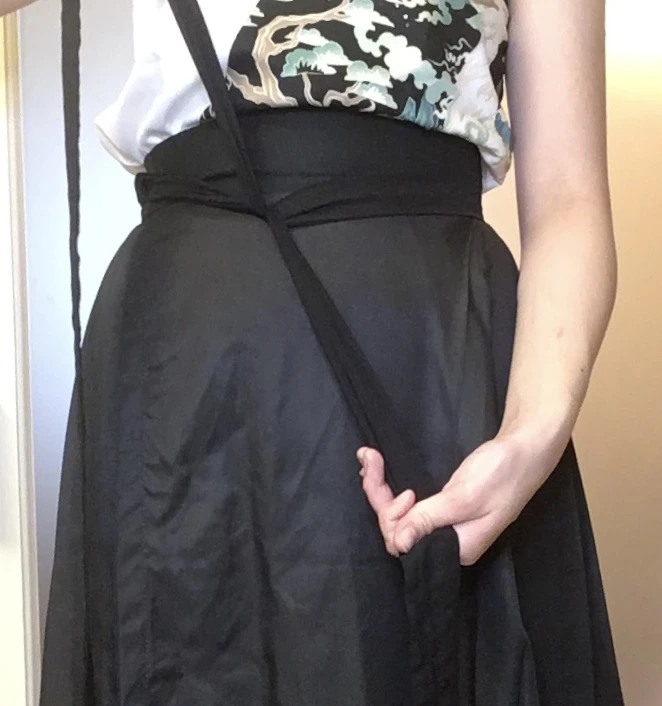
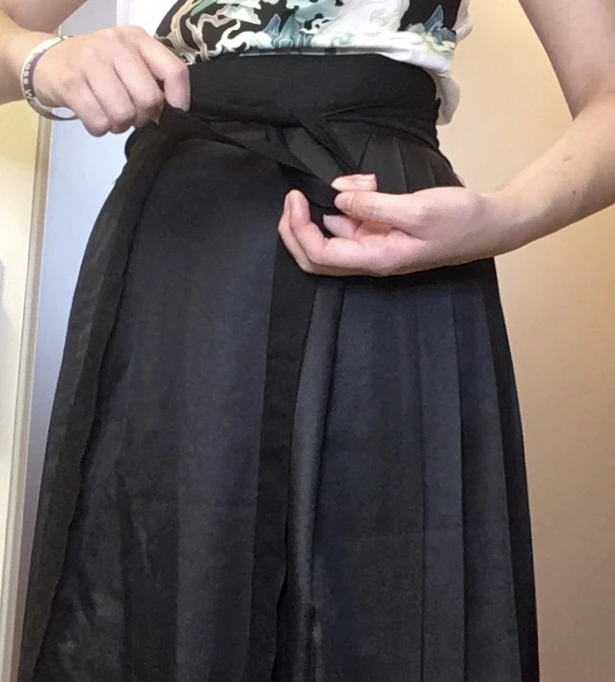
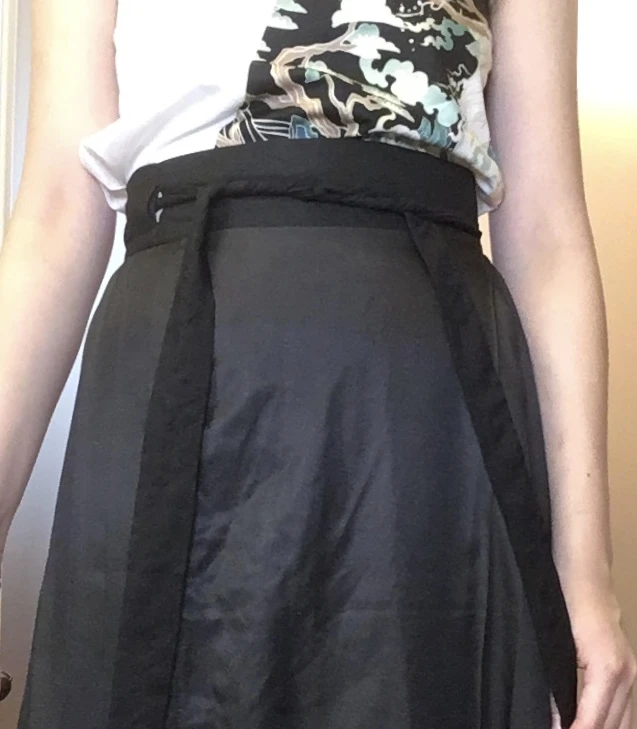
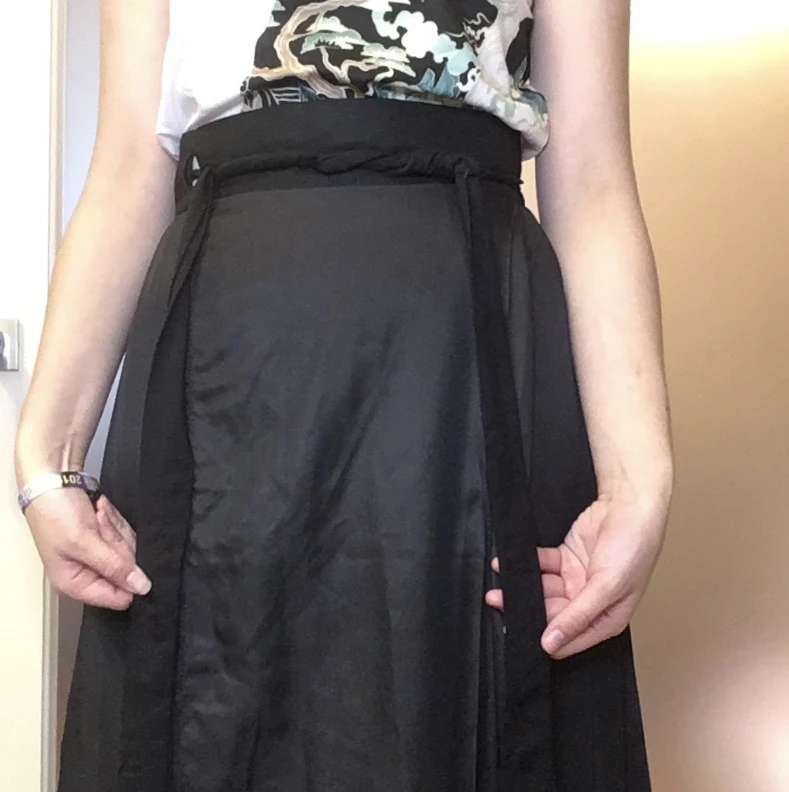
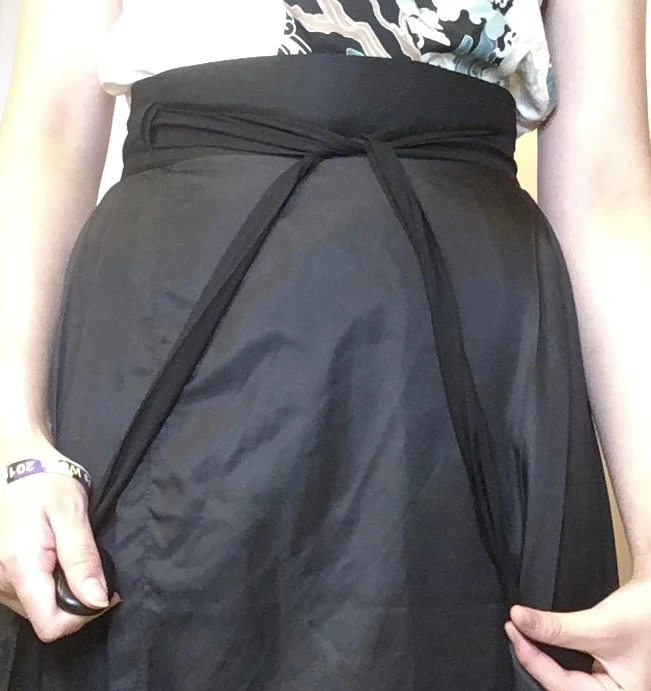
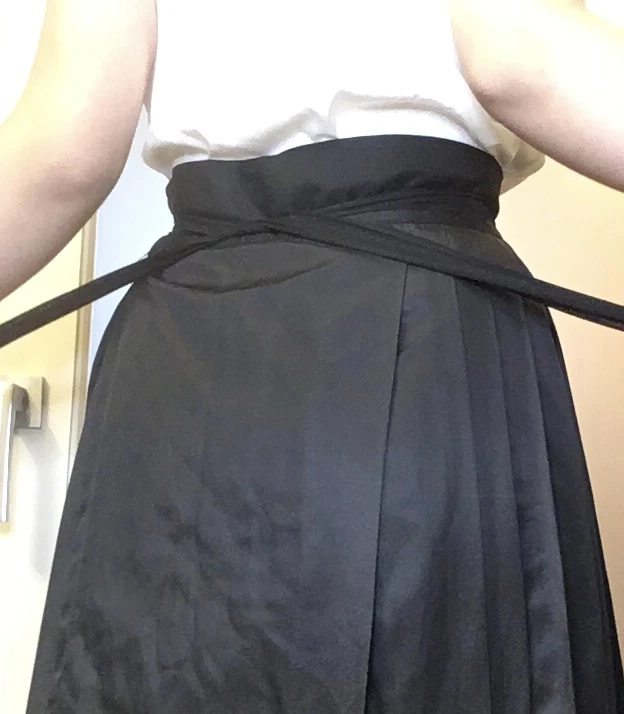
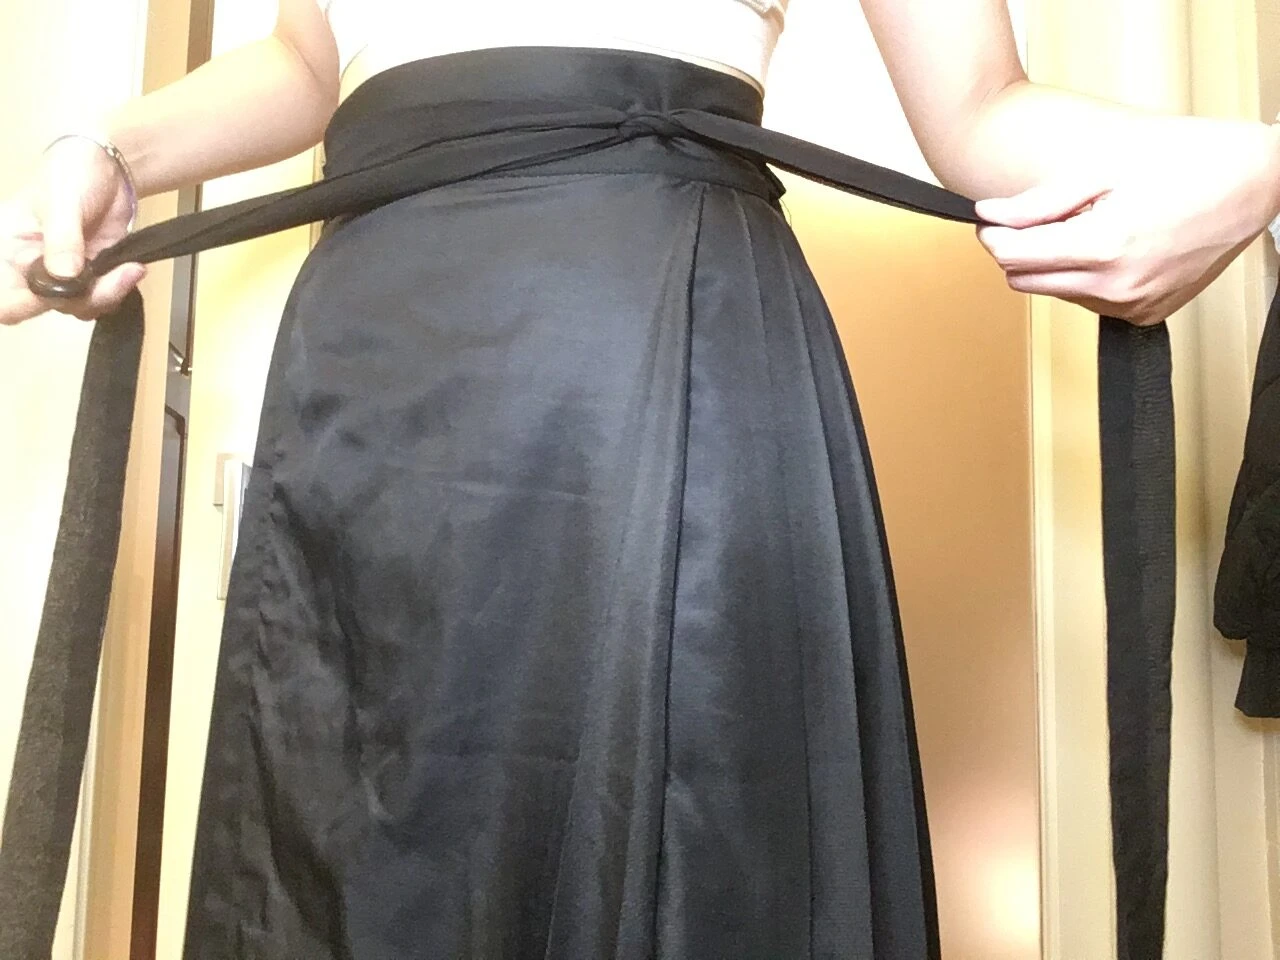
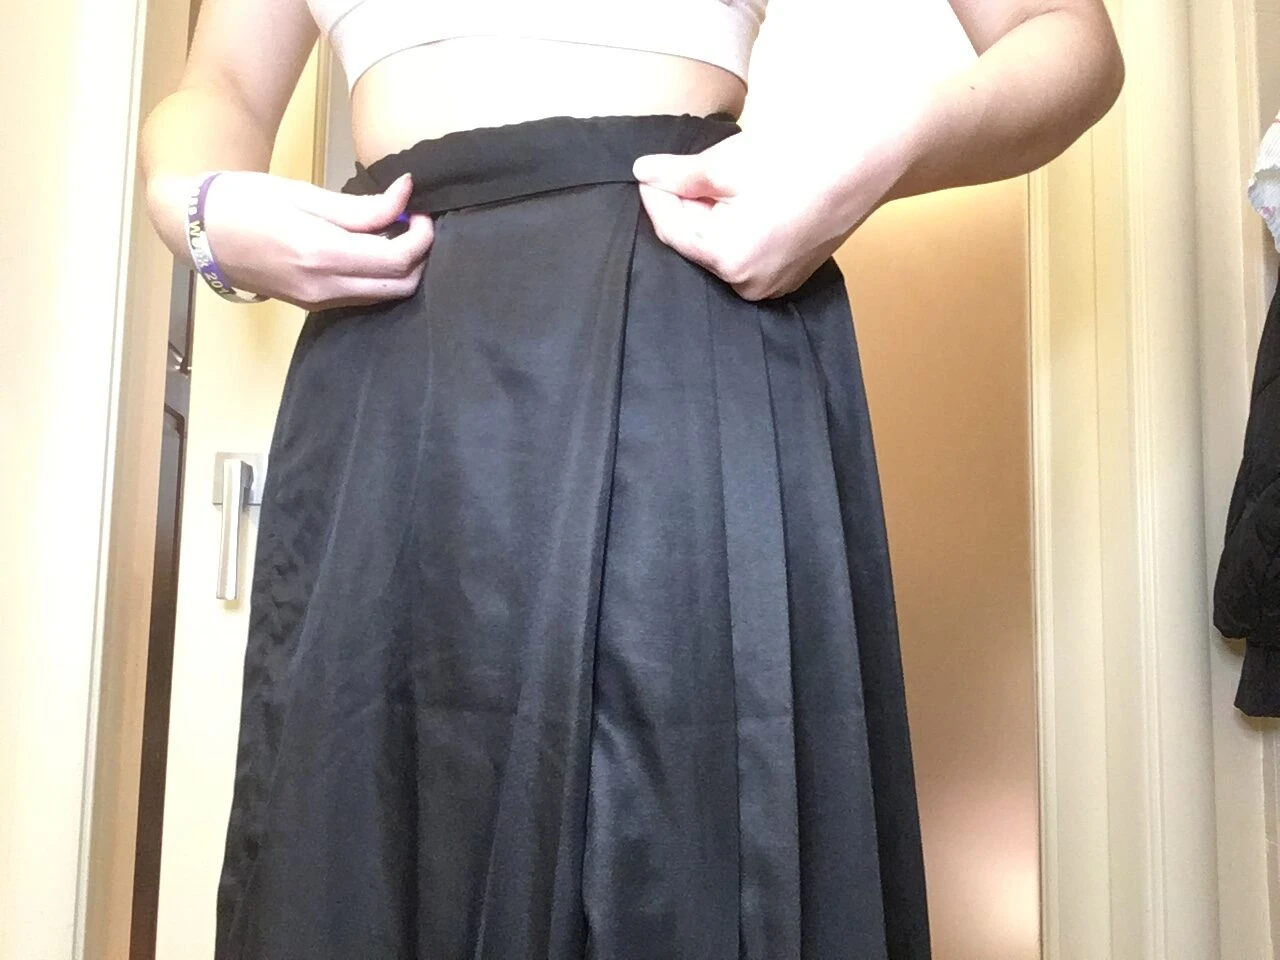
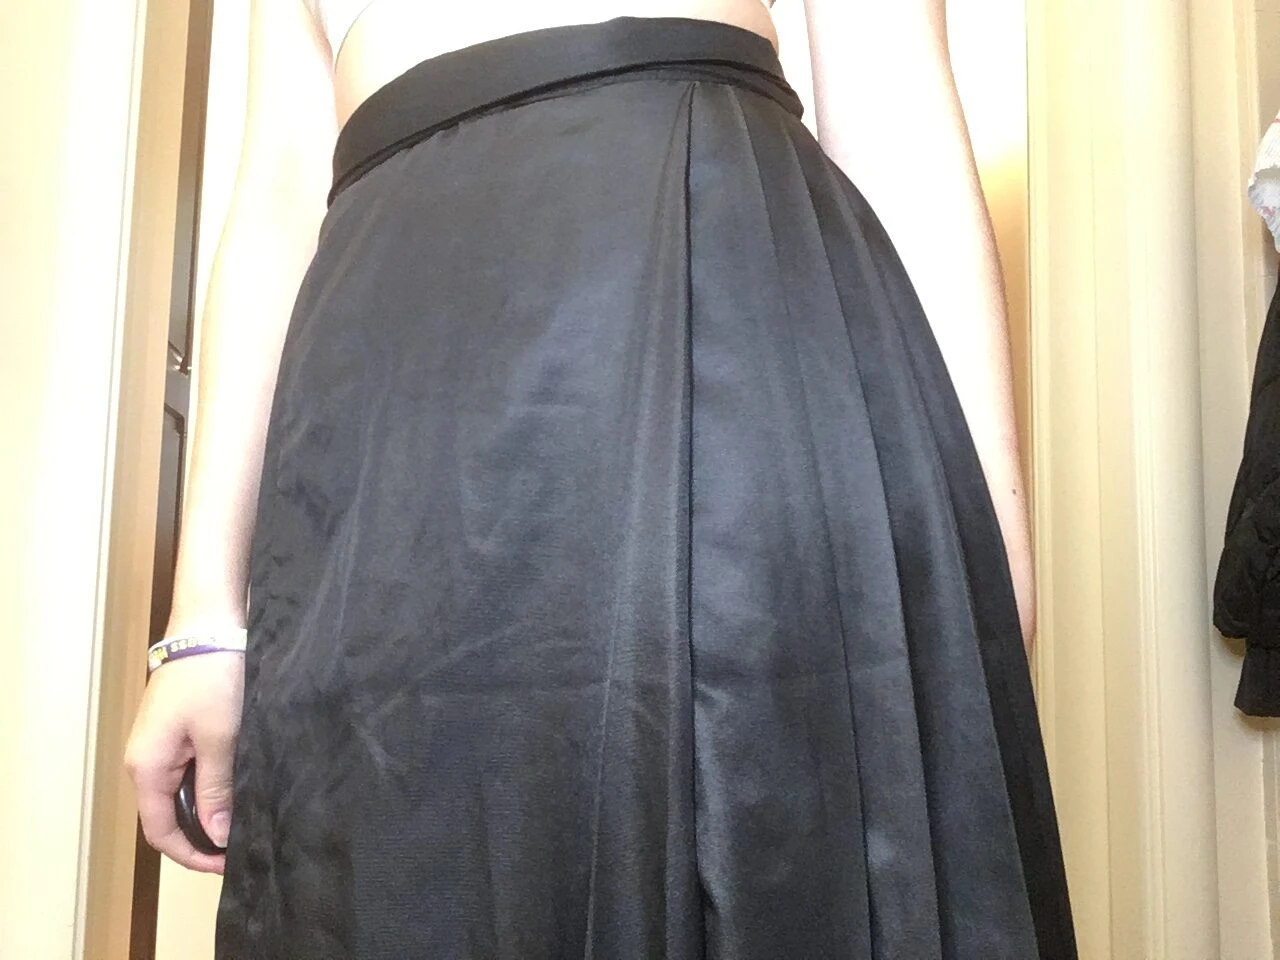
1. Put on your skirt as usual. You should end up with two tails of the ribbons that you'll need to secure around your waist, making sure that both tails are roughly the same length. I'm demonstrating with a mamianqun (horse-face-skirt) that honestly should probably be ironed out, but this should work on any wrap skirt with long enough ribbon tails. For our purposes we'll refer to the one on the right (your right, not mine) as the right ribbon, and the one on the left as the left ribbon.
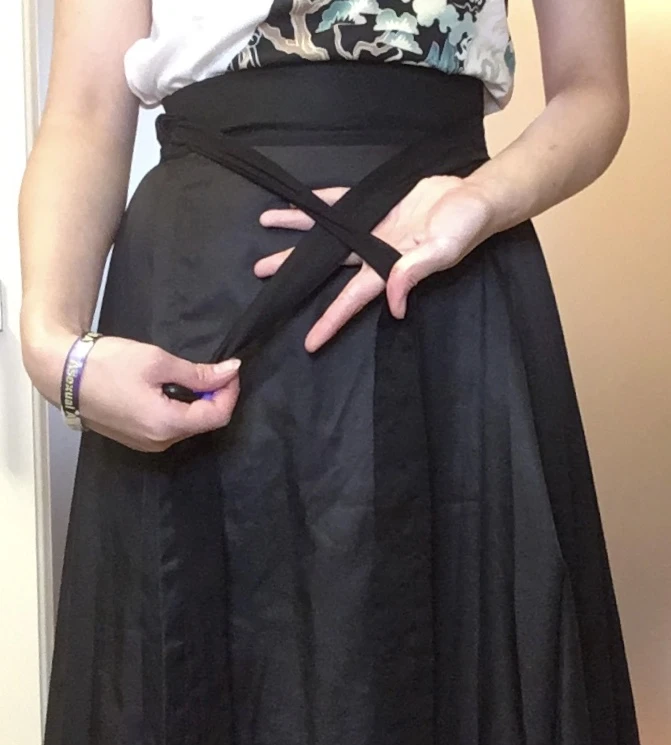
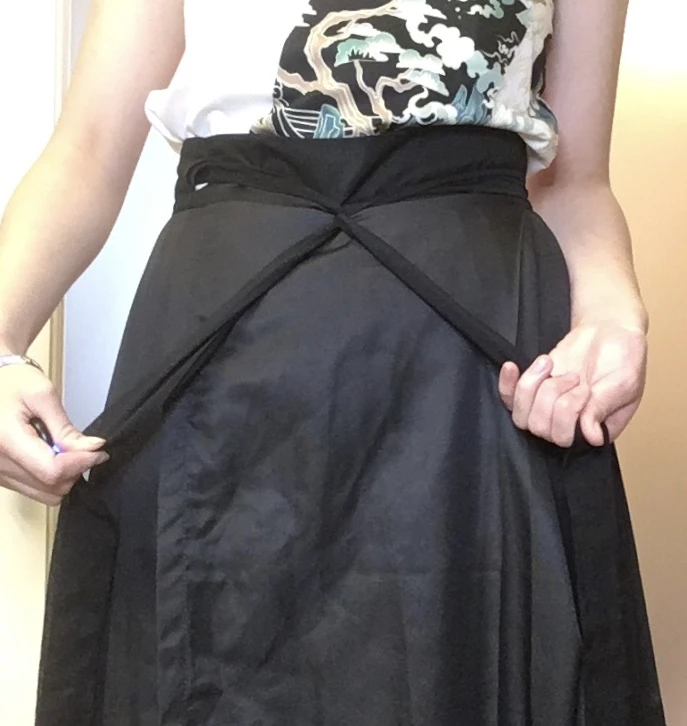
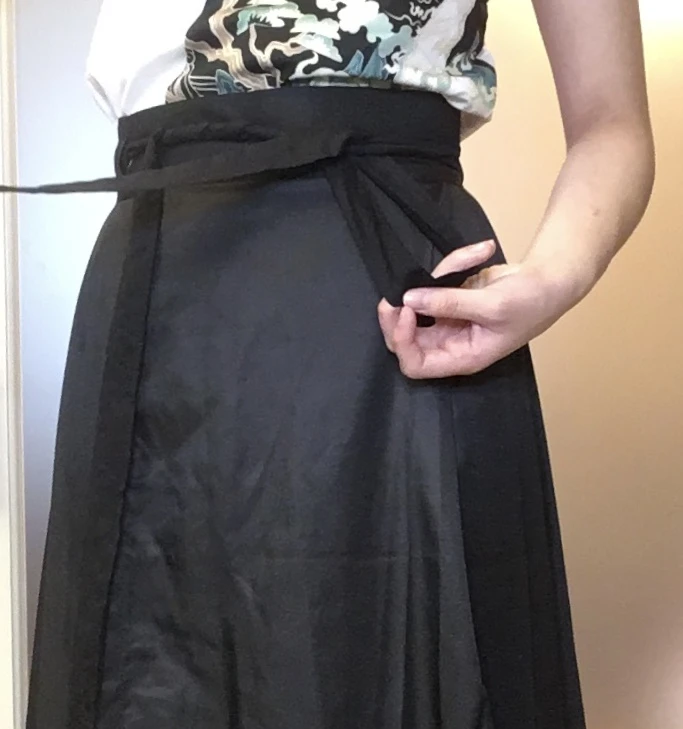
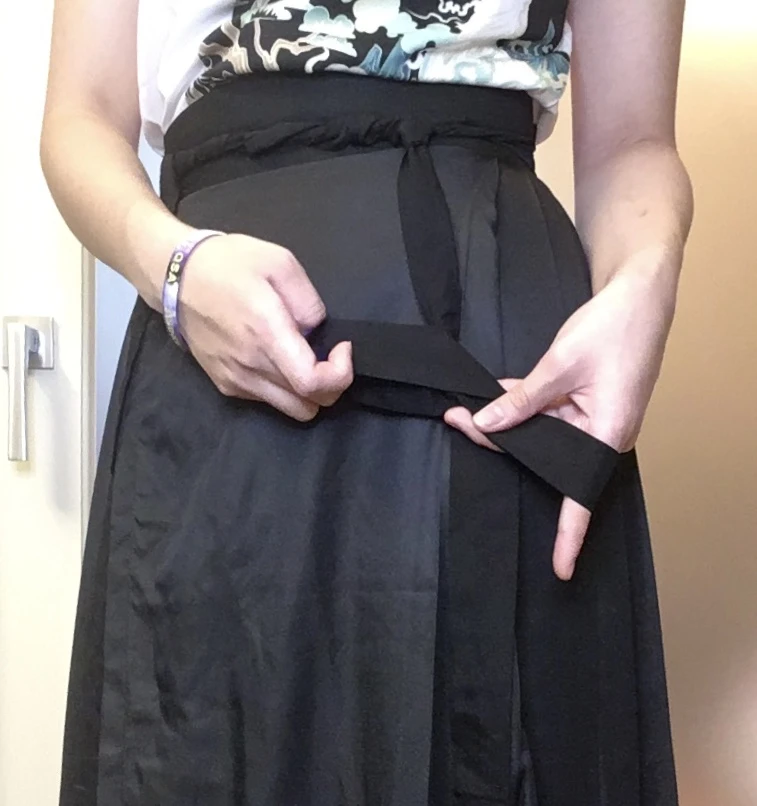
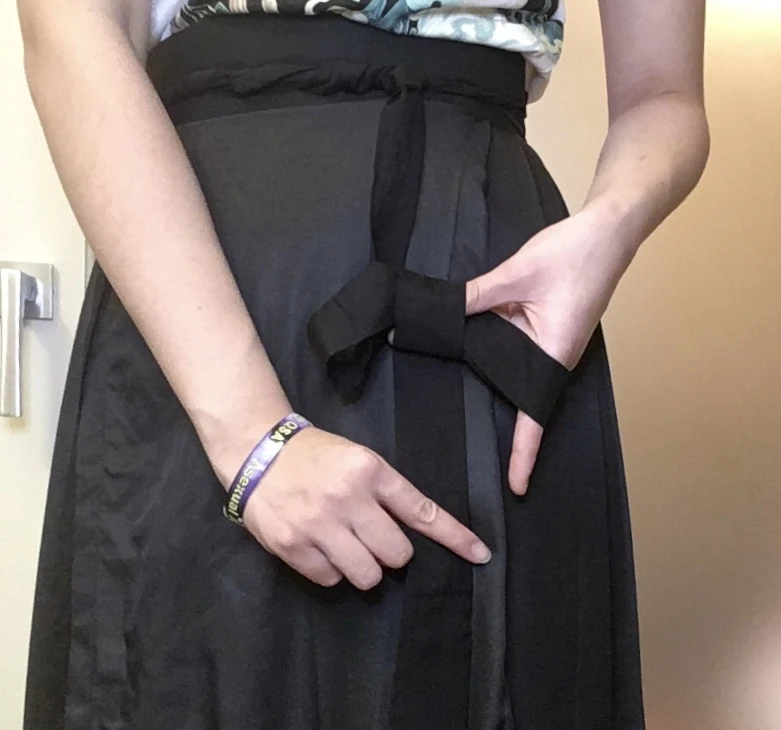
2. Cross the tails of your ribbons like this. You'll end up with one ribbon (the left ribbon, in this case) crossed on top of the other ribbon.
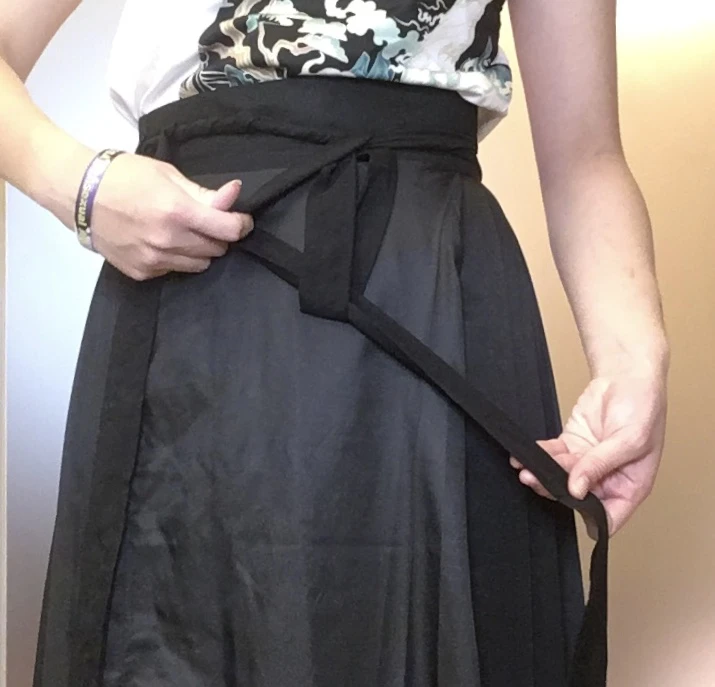
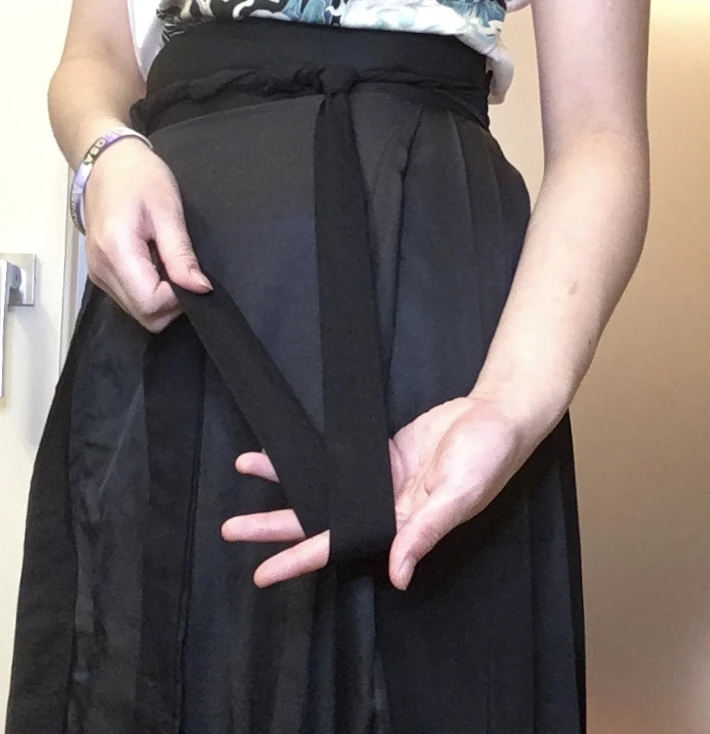
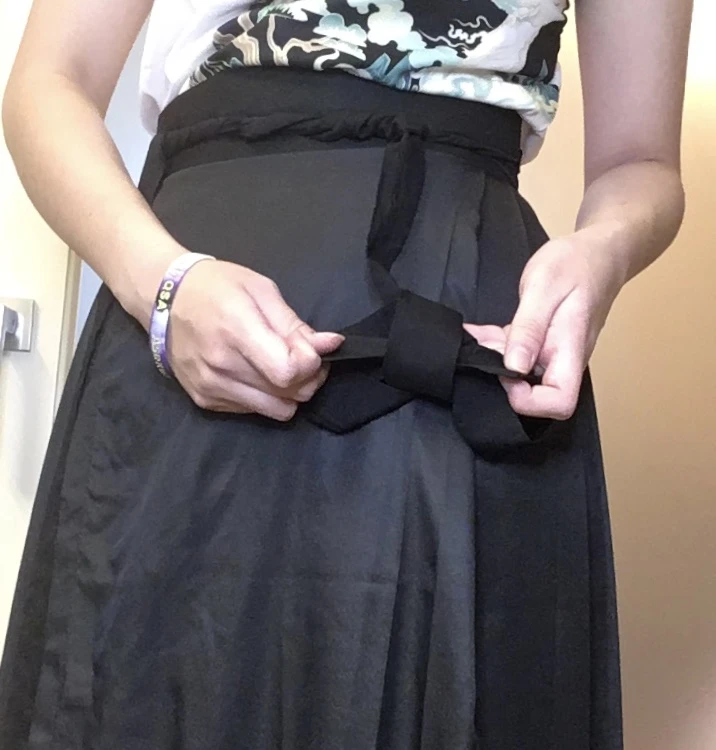
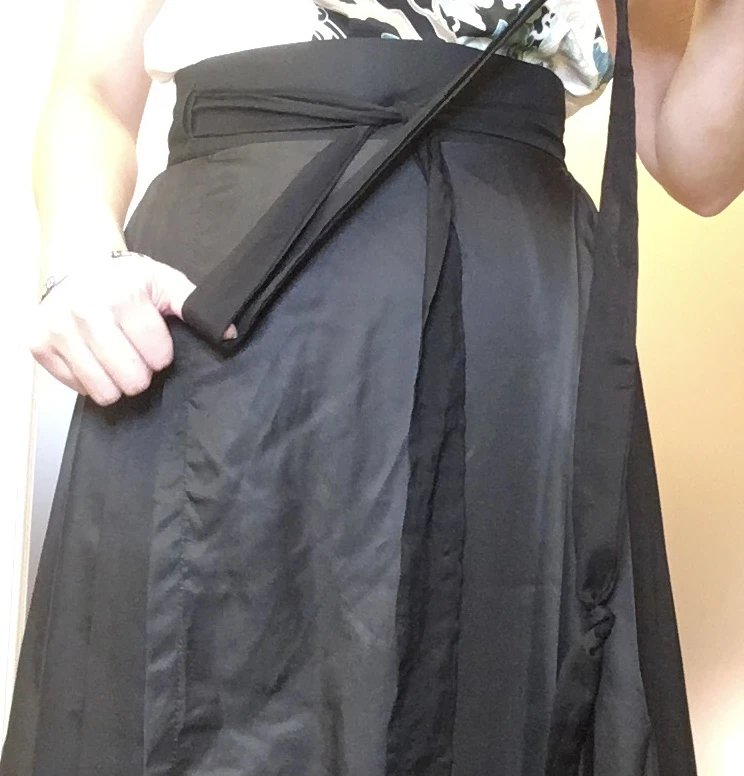
3. Now, pull the top ribbon up, and the bottom ribbon down. You should end up with your ribbons interlocked like this.
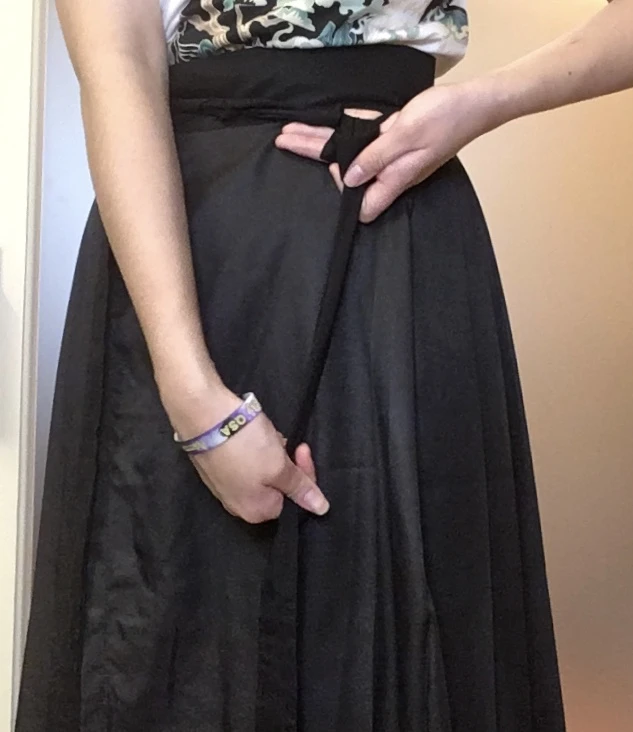
4. Pull each eibbon back towards where they came from so that they're locked around each other. You can pull them as tight as you want, make sure everything is secure.
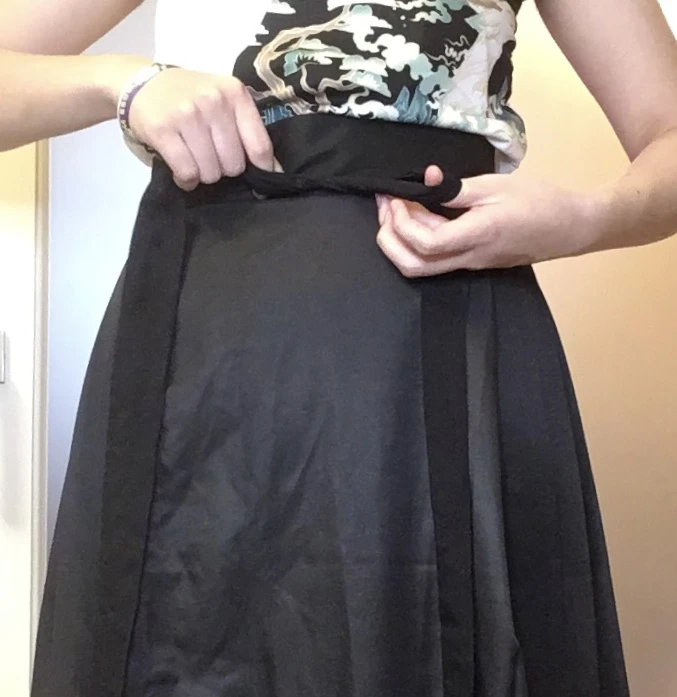
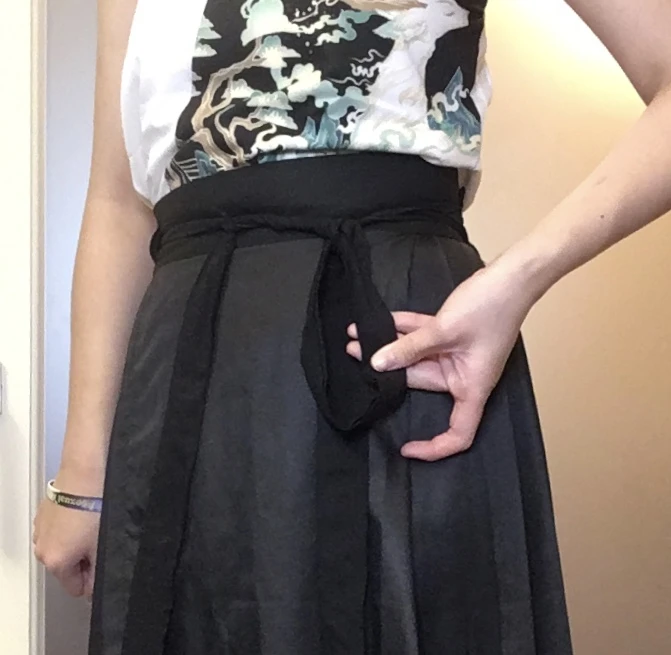
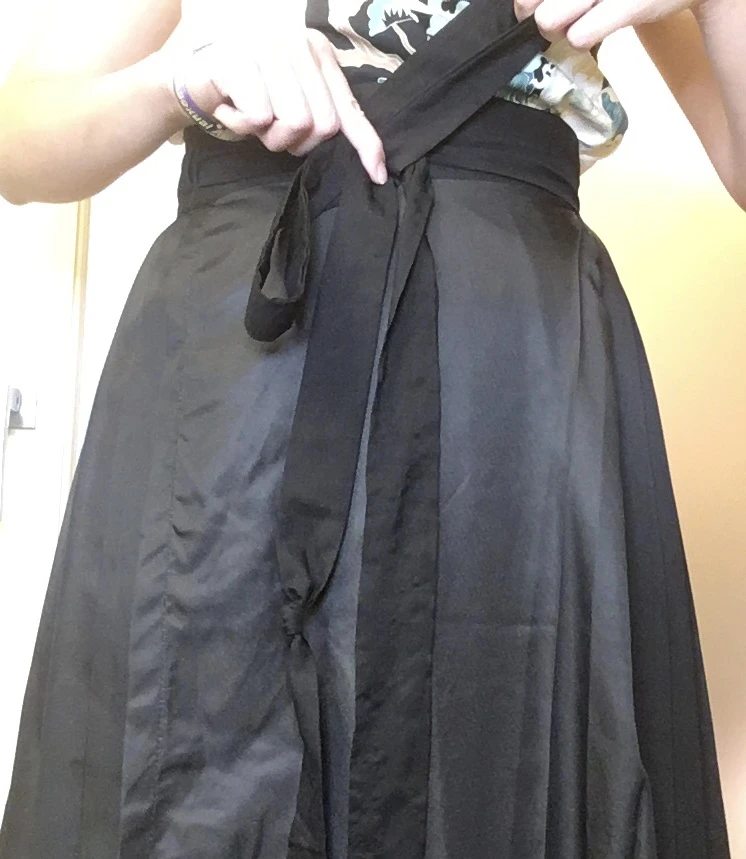
5. Making sure to keep tension on everything, take one of the ribbons and twist it back on itself 2-5 times. The friction of looping it back on itself will keep the skirt up better than a simple bow would.
6. After you've twisted it as many times as you've wanted, twist it around itself one more time, but don't pull all the way through, leaving a small open loop hanging out. This open loop will NOT be your final ear-loop! It's just something to secure the ear in place.
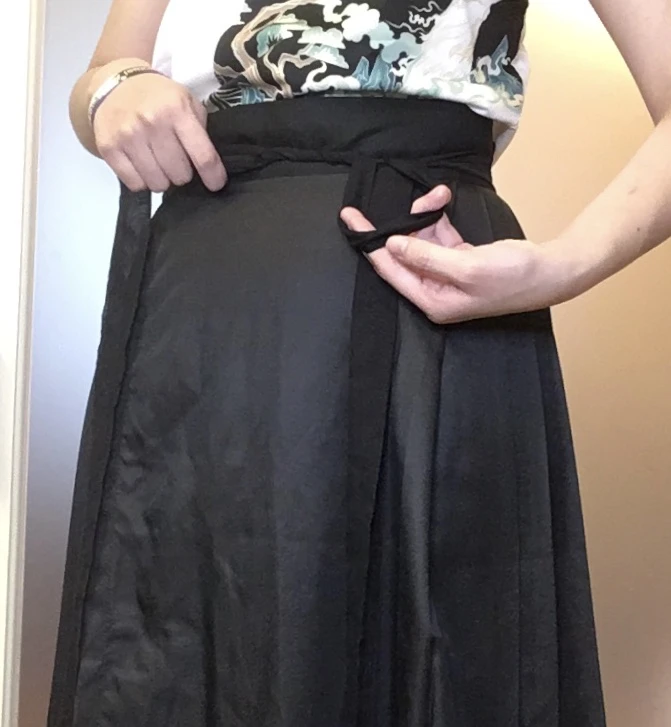
7. Take the free tail of the ribbon by the middle and pull it THROUGH the loop that you left hanging. This free tail is going to end up being your ear loop, so don't pull the end of it all the way through, allow the ear to hang free.
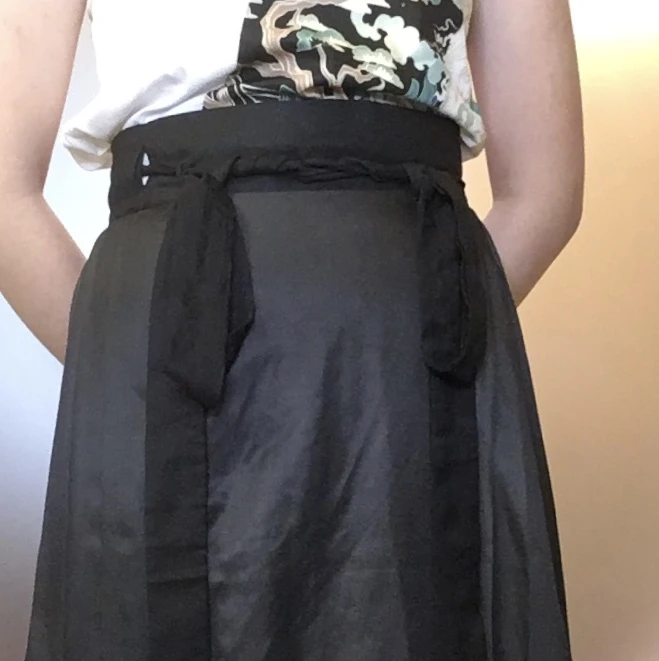
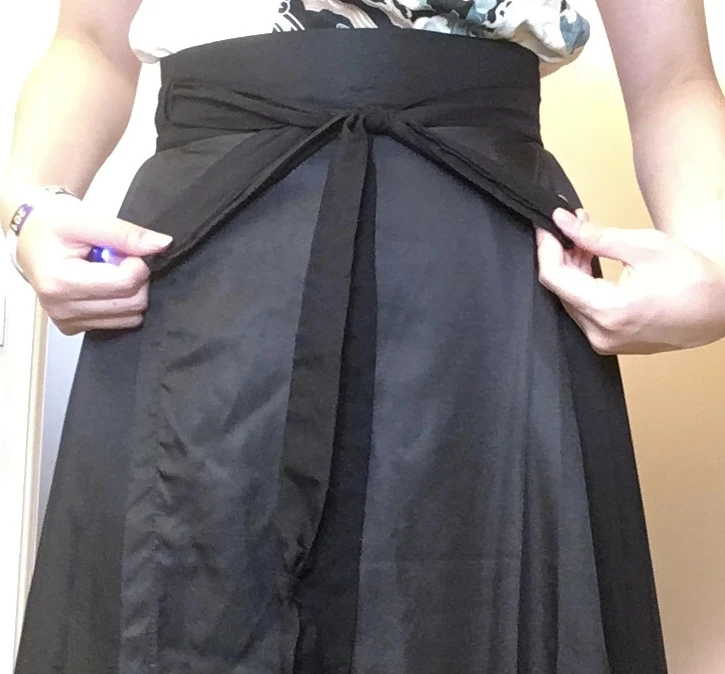
8. Pull on the side of the ear NOT closest to the end of the ribbon. This should allow your first hanging loop to tighten into a small knot around the ear loopa and prevent it from falling out.
9. Repeat the same thing on the other side, and you should be set! Pull the loops to make sure they're the same length and adjust as you'd like. You're finished! There are many other fun ways to tie your hanfu skirts, so keep going to learn some of these variations.
2. Free Ended
This is an easier and simpler variation on the double-eared pattern that basically allows you to leave the ends free and relies on the friction of the twisted ribbons to keep the skirt in place. A lot of men’s hanfu and more simple hanfu will look good in this pattern since it’s neutral and minimalistic, as long as there isn’t too much excess ribbon. Here’s how to best secure a free-end pattern:
1. Start with steps 1-5 of the double-eared pattern for both sides, twisting each ribbon back on itself.
2. Create a hanging loop, just like in the double-eared pattern.
3. Pull the free end of the ribbon all the way through the loop.
4. Pull to tighten.
5. Repeat on the other side, adjust as desired, and you're done! Just make sure you don't step on the ends of your ribbons and you should be good. For variations, read on for a way to tie up the ends of your ribbon in a fun way so they don't drag on the ground.
3. Double Bow
Ribbons too long for free ends? That’s okay! Here’s a fun way to tie up the ends of your ribbons that combines the twisted-back and bow methods, creating two mini-bows on each end of the ribbon. It’s a very cute and flirty style and can help keep the ends of your ribbons from dragging on the ground.
1. Start with repeating the steps for the free ends. Make sure you keep everything taut while you tie it!
2. Take the free end of one of the ribbon tails. About halfway down your thigh, pull it back up around your finger to create a shape like this.
3. Pinching about 1-2 inches up from where the ribbon folds around your finger, fold the ribbon back around around the top of the loop, forming a second loop of the same size, so that the tail hangs down behind both loops.
4. Bring the tail of the ribbon up and around the point where the two loops cross, allowing the free end to wrap around like the center of the bow.
5. Tuck the free end of the ribbon into the wrap around the center of the bow you just made and pull through to make a knot. Adfjust so that the bow hangs horizontally.
6. Repeat on the other side, adjust as desired, and you're done again! If this cute style appeals to you, feel free to experiment with doubling the loops back on themselves another two times to make a four-looped bow, or making more patterns with different kinds of knots.
4. Center Bow
Next is a more modernized variation on hanfu tying patterns. The classic bow is a fun and cute way to secure your skirt, and it’s often a lot faster than needing to twist the ribbons back on themselves, so it’s great for those in a rush. Just be sure that you make the loops of your bows the right size so that the free ends don’t trail on the ground! Obviously you can just tie these the way you tie your shoelaces, but let's learn a way to tie the bow that allows the loops of the ribbon to hang more nicely.
1. Start by tying a simple knot, just like if you were going to tie a regular bow. Make sure that one of your tails is about six inches longer than the other.
2. Take the longer ribbon tail and pull it back upward around your finger to make a loop.
3. Bend the free end back towards the center to create a second loop, and pinch to keep both loops in place. Let the free end hang down.
4. Now take the SHORT ribbon from the other side and wrap it around the center of the two loops, tying a knot to keep them in place. You should be done! Adjust the loops and tails as desired.
5. Side Bow
A variation on the centered bow is the side bow, which allows for a little bit of asymmetrical flair by placing the bow on the side instead of in the center of the waist. It's very simple to do and very classy!
1. Start the same way as everythign else, with two ribbon tails, but this time make one about six inches longer than the other. Pull them towards your hip on the same side as the shorter ribbon.
2. Tie a simple knot here. The tails should now be roughly the same length now, but it's okay if they're a little off—the asymmetry of this design makes different lengths look pretty natural.
3. Either tie a normal bow like you'd tie your shoelaces if you want the loops to hang down, or follow the steps of the center bow pattern to make more horizontal loops. I went with a shoelace bow.
6. Suspender
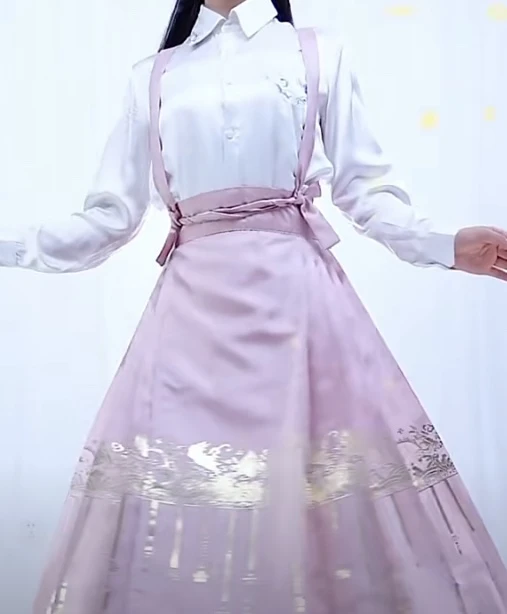
This is a much more modern way to tie the skirts of hanfu, but can be very unique. I find that it looks best on mamian qun (horse-face skirts) but it can really be used for any skirt with a long enough ribbon, and creates a really nice suspender-like silhouette that can also help you keep the skirt up.
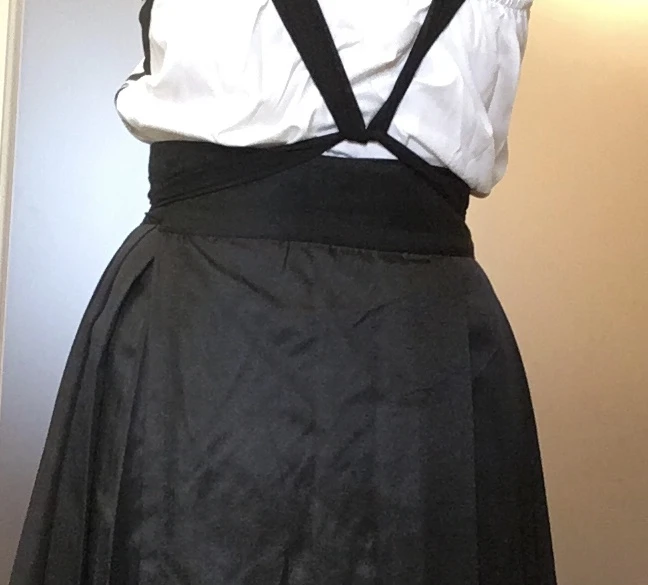
1. Start by repeating steps 1-4 of the double-eared pattern, crossing the ribbons and pulling them back until they're interlocked. Pull the ends of the ribbons all the way back around your waist so that your hands meet in the back.
2. This photo is of my back so that you can see. Tie a simple knot with the two ends at the center of your back.
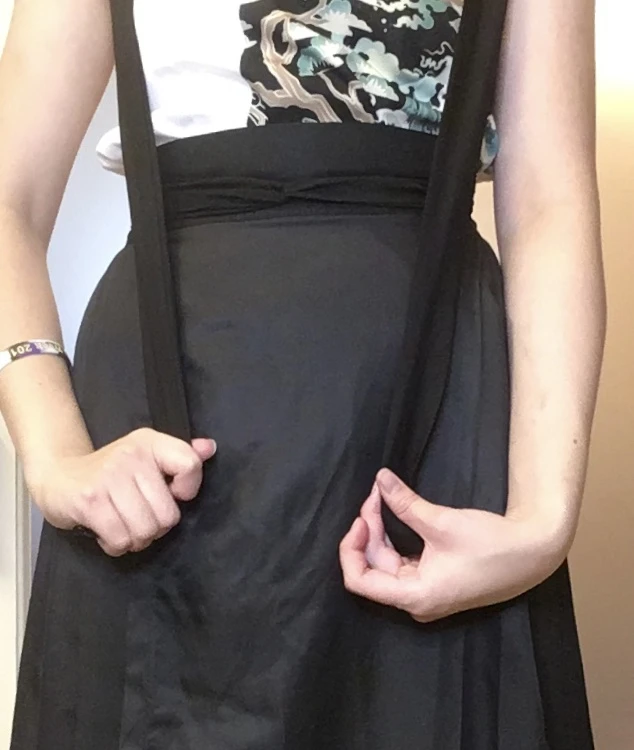
3. Now, LIFT both ends straight up so that each end comes up your back and then over your shoulder.
4. I've turned back around now—you'll end up with two tails coming down from over your shoulders like suspender straps. Pull them down so that each end is hovering over your waist.
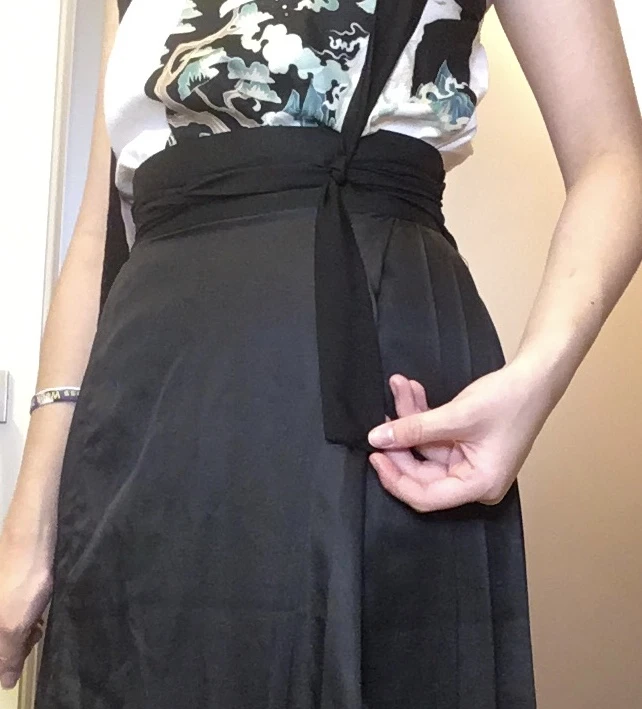
5. Take the end of one of the ribbons and knot it around your waistband. Repeat with the other side, adjust as necessary, and you're done!
7. Hidden Ribbon
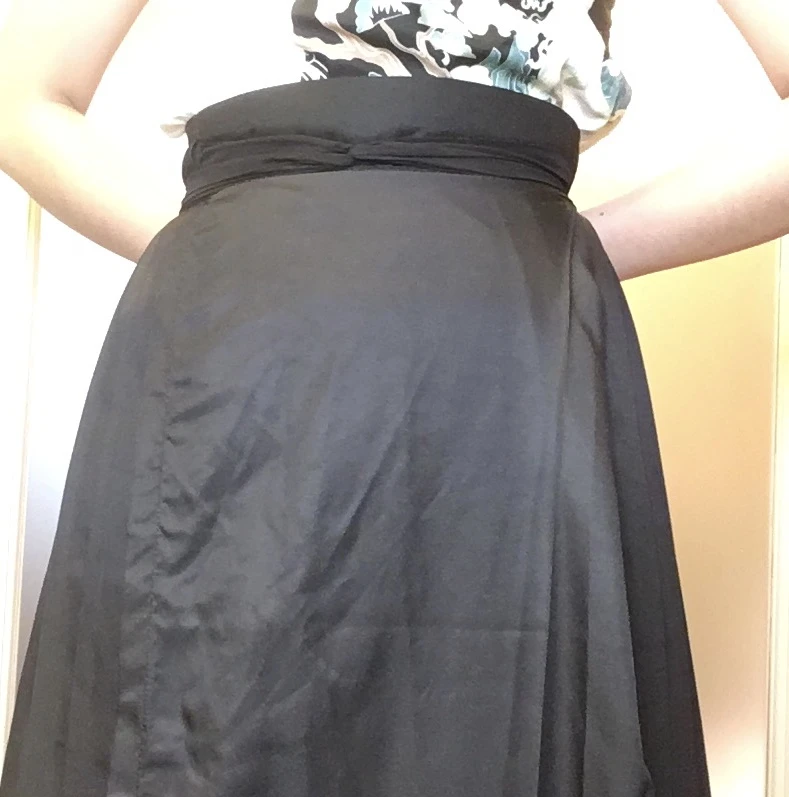
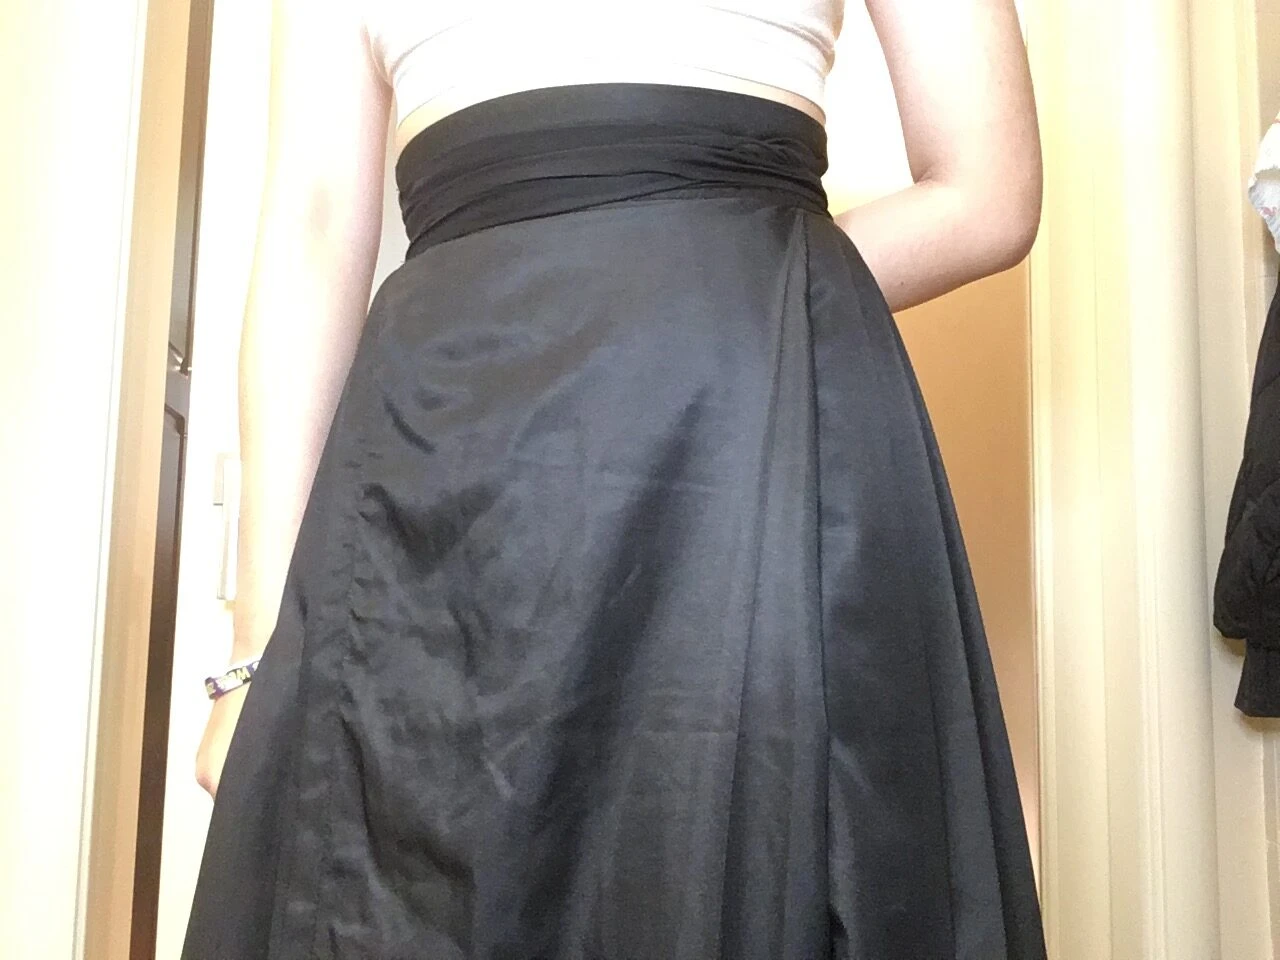
In truth, historians speculate that most people in ancient China tended to hide their ribbons, either by folding over the waistline of the skirt after they’re tied or by tucking the free ends inside of the skirt. We don't know exactly how they did it, but here's how I usually hide the ribbons of my hanfu skirts if I want them to be out of the way.
1. Start by tying your ribbon at the waist as usual.
2. Pull the ends back around to your back, and then forward and back again until you've wrapped the ribbons around enough times for the ends to be very small, then tie a very tiny bow or knot just to keep it in place. Try your best to make the knot behind you, since it'll be less obvious that way.
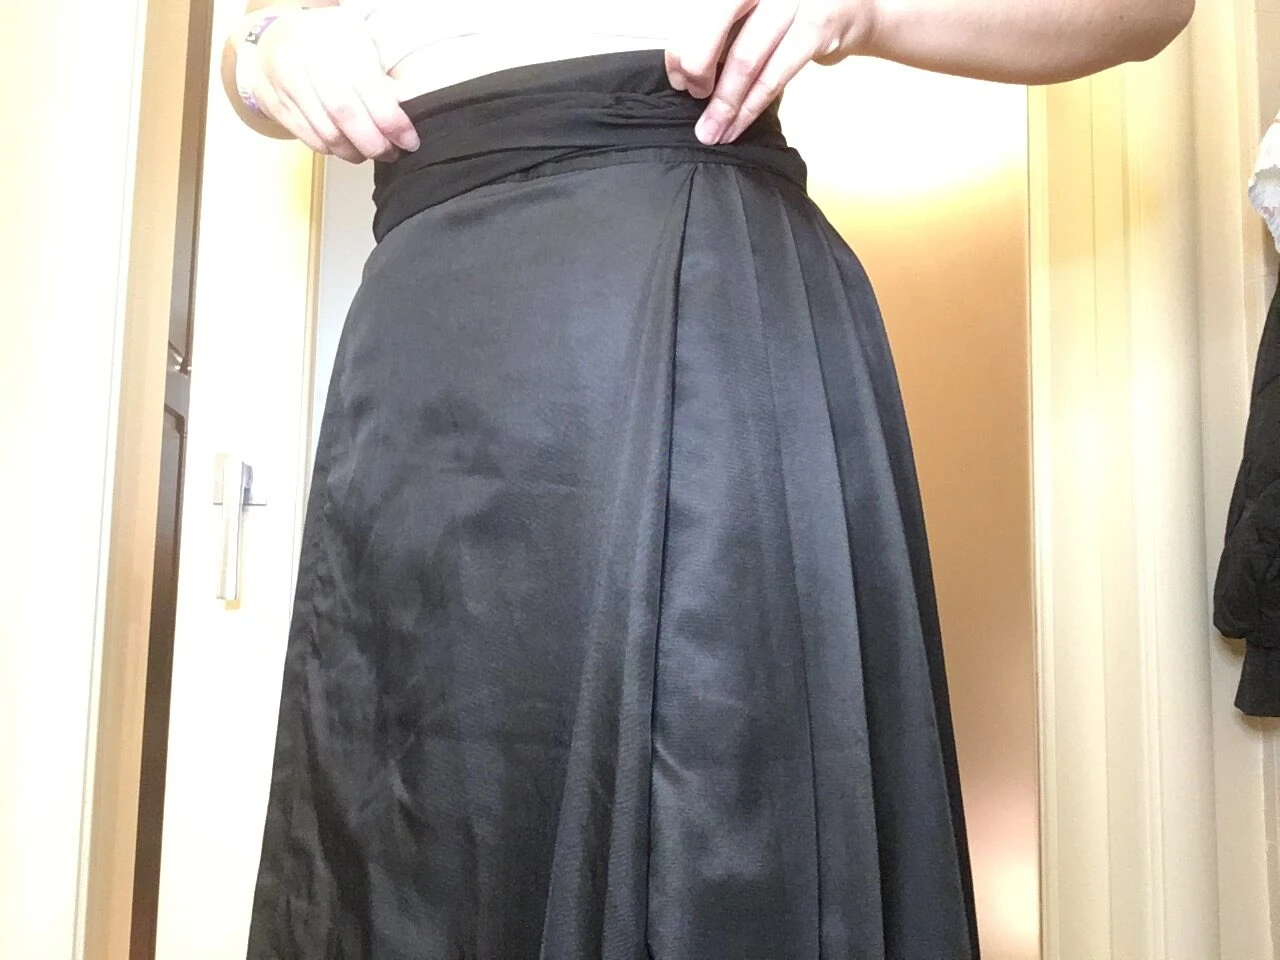
3. Take the top edge of your skirt between your fingers.
4. Fold the waist down so that it covers the line of your waistband.
5. Smooth it out all the way around, and you should be done!
Remember to check your top, the ends of the ribbons, and the orientation of your skirt after you're done tying any of these methods! It’s completely up to you how you want to wear your hanfu—these fun ways of tying hanfu skirts have been really popular lately. I've found that these are also the best to keep the skirt up without slipping, but don’t be afraid to try out your own ways to tie the ribbons as well and create variations on the classic methods!


This is a great tutorial, thank you!
Thank you for the tutorial! I shall try them all. 🙂
Bookmarked for later 👀👀
How to bookmark or like articles?
I got it. But couldn't delete the reply.
😍😍😍
OMG, I love the suspender one! Would be nice to combine it with a more western attire!!
Aku masih asal2an dalam mengikat rok,🤦🏻♀️
Terimakasih artikelnya
wow! never seen any suspender version. Good to know.
The last two are brand new to me.
Thank you for writing this. I always struggled about how to make it tight enough.
Nice share, followed
Amazing guide! Want to learn how to wear one-piece han fu bra😁